




How to Choose the Right Scope Ring Height for Your Rifle
You’ve spent hours researching the perfect glass. You finally pulled the trigger on a high-end optic, and now you’re ready to mount it. You look up a quick chart, buy a pair of standard "medium" rings, bolt everything down, and… clunk.
The objective bell of your scope is hard up against your rifle barrel. Or worse, you clear the barrel, but you have to lift your head completely off the stock just to see through the glass, ruining your cheek weld.
Knowing how to measure scope ring height isn't just about making sure your parts fit; it's about building a repeatable, accurate shooting system. Let's look at how to get this measurement perfect on the first try and uncover the number one trap that catches most shooters out.
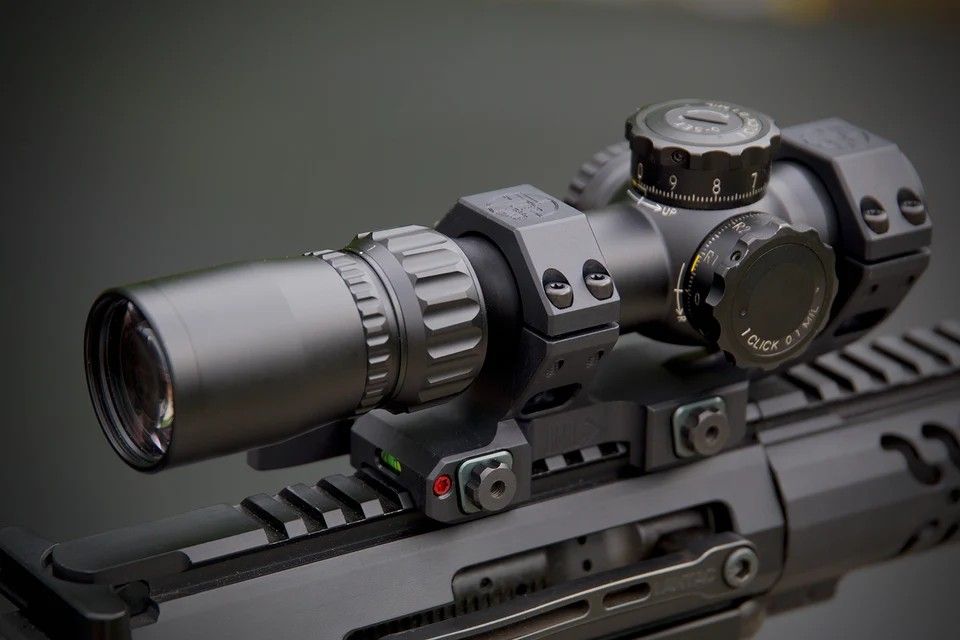
The #1 Mistake: Trusting "Low, Medium, and High" Labels
If you take only one thing from this guide, let it be this: There is no industry standard for what constitutes a "low," "medium," or "high" scope ring.
A "medium" ring from Brand A might measure 0.85 inches from the base to the centre of the tube. A "medium" ring from Brand B might measure 1.10 inches. If you buy blindly based on the word on the box, you are gambling with your clearance and your alignment.
Furthermore, many manufacturers measure ring height from the top of the base to the bottom of the scope tube, while others measure from the top of the base to the centreline of the ring. You must look at the exact decimal or millimetre measurements provided by the manufacturer before clicking "buy."
The Perfect Clearance Equation
To ensure your optic clears your barrel while staying as low as possible for a comfortable cheek weld, you need to calculate your minimum required ring height.
To find your minimum ring height (measured to the centreline of the optic), use this straightforward formula:
Minimum Centreline Height = (Objective Bell Diameter / 2) + Desired Clearance - Rail Height
1. Measure the Outer Objective Bell Diameter
Do not use the number listed on your scope box (e.g., 50mm). That number refers to the internal diameter of the glass lens. The actual aluminium housing (the objective bell) adds anywhere from 2mm to 6mm of thickness. Use digital callipers to measure the absolute widest outside diameter of the front bell.
2. Account for Desired Clearance
You need a small buffer zone between the scope and the barrel to account for barrel whip (vibration during firing) and to allow room for protective scope caps. A safe, clean clearance buffer is 0.05 to 0.10 inches (roughly 1.5mm to 2.5mm).
3. Subtract Your Base or Rail Height
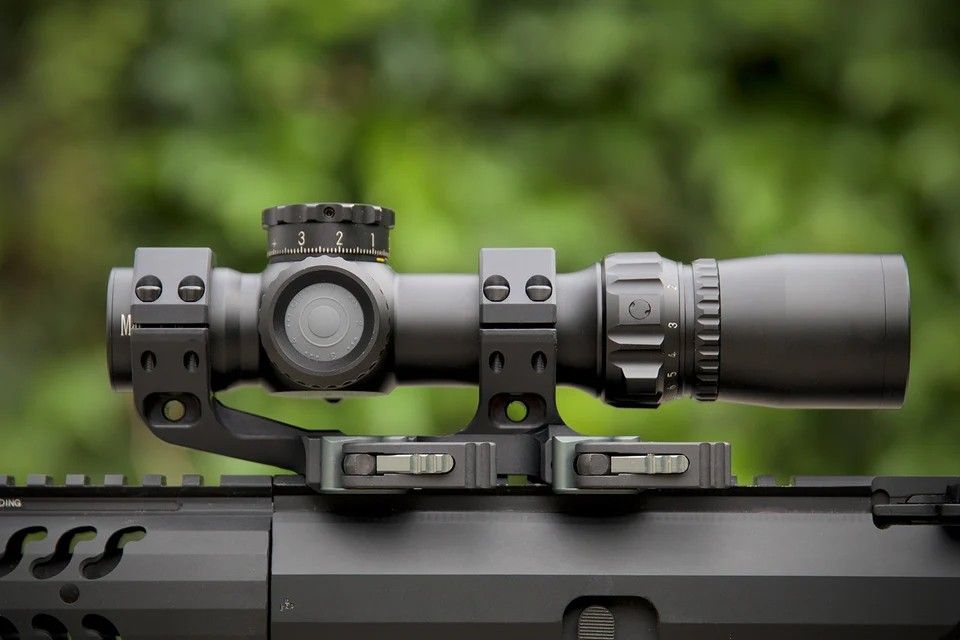
If you are mounting your rings onto a raised Picatinny rail, that rail already lifts your scope off the receiver. Measure the height of your rail from the top of the receiver to the top of the rail slot and subtract that number from your total. If you are mounting directly to a flush receiver using direct two-piece rings, this value is zero.
The Pence Stack Trick
Two-pence coins (2p) are an incredibly reliable measuring tool because a standard, crisp UK 2p coin has a uniform thickness of exactly 1.85 mm.
To find your perfect height using loose change:
Prep the rifle: Ensure your rifle is completely unloaded, clear, and secured in a gun vise or steady shooting rest. Ensure your Picatinny rail or base is already securely installed.
Stack and test: Place two equal stacks of 2p coins on your rail or receiver where your front and rear rings would normally sit.
Rest the optic: Gently rest your scope main tube onto the coin stacks.
Check the bell: Look at the front objective bell. Is it touching the barrel? If so, add one coin to each stack until the scope clears the barrel cleanly.
Add your buffer: Once the scope clears, add one extra 2p coin to each stack. This creates a critical safety buffer for barrel whip (vibration during firing) and flip-up lens covers.
Do the math: Count the number of coins in one stack and multiply by 1.85.
Don't Forget the Ergonomics (Cheek Weld)
While clearing the barrel is critical, clearing your face is just as important. The goal is a natural cheek weld, meaning that when you drop your head comfortably onto the stock with your eyes closed, you should open them and look directly through the centre of the glass without straining.
| Scenario | Result | The Fix |
|---|---|---|
| Rings Too Low | Objective bell hits the barrel. Can mark your bluing/finish or warp under barrel heat. | Increase ring height or use a higher base rail. |
| Rings Too High | "Chin weld" instead of a cheek weld. Destroys repeatability, makes tracking recoil difficult. | Lower the rings, or add a modular cheek riser or stock pack to your buttstock. |
| Just Right | Full sight picture immediately upon mounting the rifle. Minimal neck strain. | Torque it down to spec and head to the range. |
The Golden Rule for the Checkout Cart
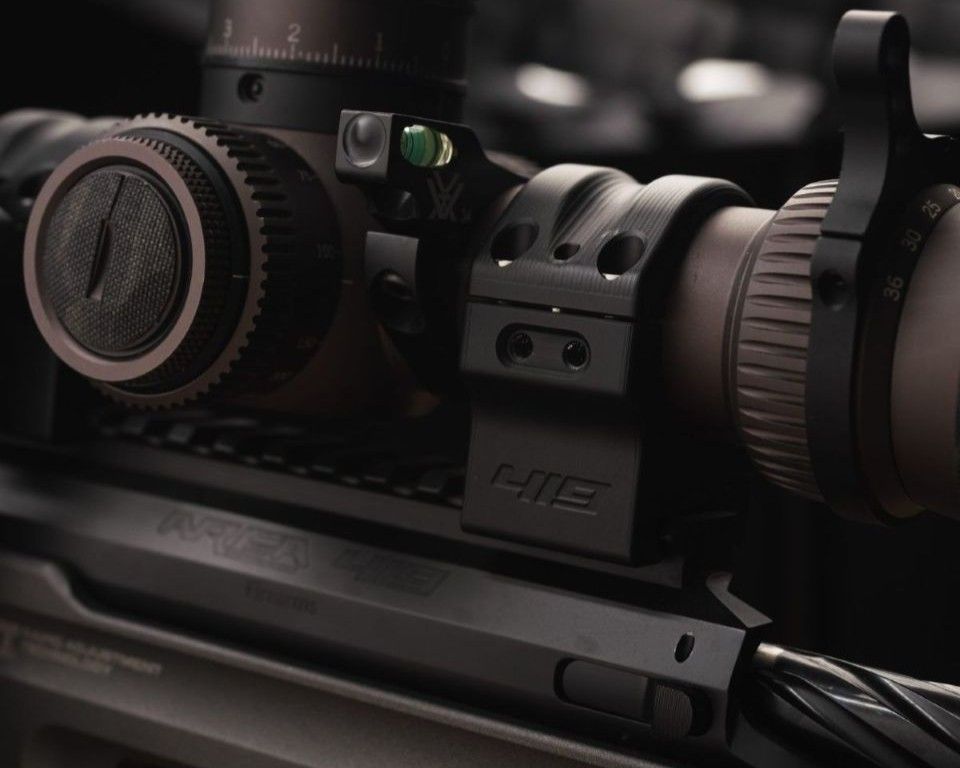
Before you buy from your local gun shop or online dealer, confirm how that specific manufacturer defines their ring dimensions. European and British brands often stick to millimetres, while US imports might use inches.
If they measure Base-to-Bottom: Match this number directly to your coin measurement.
If they measure Base-to-Centreline: Take your coin/tack measurement and add half of your scope's tube diameter.
For a standard 30mm tube, half the diameter is 15mm. If your coin stack measures 7.4mm, you need a ring with a centreline height of at least 22.4mm (7.4 + 15 = 22.4).
Taking an extra ten minutes with a pair of callipers and a handful of pocket change will save you from the headache of returns shipping labels, wasted trips to the range, and missed targets. Measure twice, buy once, and build a setup that fits you perfectly.
Need Help Choosing the Right Scope Rings?
Still unsure which ring height will work with your rifle and scope setup? Our team can help you work out the right fit before you buy.
Call our technical showroom on 01803 611895 or email [email protected] for straight-talking, expert advice on scope rings, mounts and getting your optic set up correctly.