




Improving Thermal Scope Accuracy with a DIY Target Method
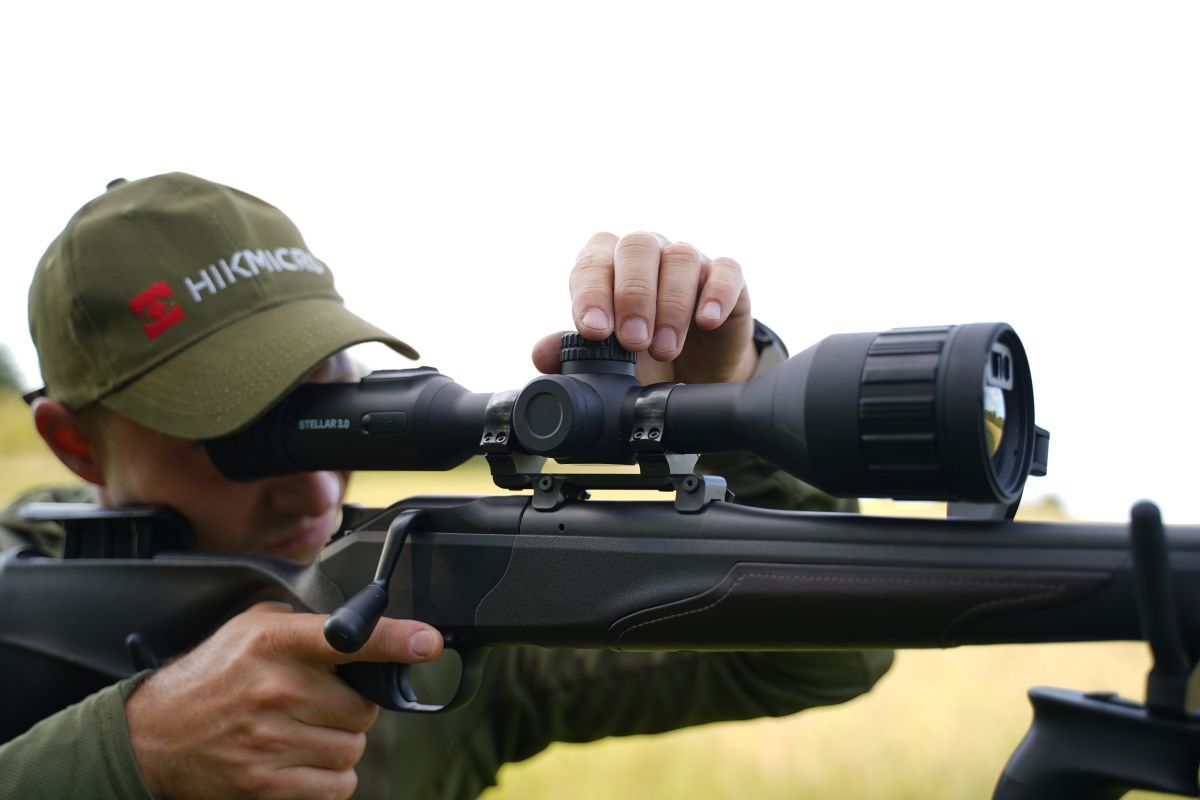
If you’ve been keeping an eye on recent tech developments, you know we have spent a lot of time breaking down the capabilities of the latest generation of 30mm tube-style thermals. Flagships like the HIKMICRO Stellar 3.0 and the NocPix ACE series are mechanical marvels, packing highly advanced ballistic computers and integrated laser rangefinders directly into standard hunting optics.
But as I always say in the showroom: a ballistic engine is only as good as the data you feed it.
To truly unlock that surgical accuracy, you have to "true" your scope’s ballistic profile at extended distances, typically 200 to 300 yards. And that is where most British shooters run into a brick wall. Traditional thermal targets, hand warmers, or foil packs suffer from a massive flaw: thermal bleed. The heat radiates outward through the cardboard target, turning your fine aiming point into a giant, blooming white blob on the screen. Trying to shoot a tight, sub-MOA group at 250 yards against a glowing basketball is a guessing game.
Frustrated by this exact issue, I went to work to find a solution. What I came up with is an incredibly clever, field-proven DIY workflow that flips the script entirely. I call it the "Zero Bleed" Target Method, and it costs virtually nothing to make.
The Concept: Hiding the Heat to See the Hit
Instead of sticking a heat source to the front of your target and fumbling to find the exact center of a glowing cloud, my method relies on complete thermal isolation. You are going to use a large, adhesive stick-on back or body warmer (the type easily picked up at any chemist for muscle pain relief), but you are going to stick it securely to the REAR of your target backing board.
Because the cardboard completely blocks the heat pad from your direct line of sight, you get absolutely zero blooming or thermal halo when you look through your scope. The target face looks perfectly neutral, dark, and crisp. But the absolute second your supersonic centerfire bullet punches through the target, it cuts a visual window, allowing the intense thermal energy from behind to flash through.
The Big Advantage: With my method, you aren't aiming at a blurry heat signature; you are aiming at a razor-sharp, traditional paper bullseye. Your daylight muscle memory translates perfectly, and the thermal feedback only appears exactly where your bullet strikes.
Why My "Hole Window" Trick Dominates Long Range
Zero Thermal Blur: Because you are looking at a cold target face, you can pick an exact, crisp point of aim on a paper grid rather than aiming at an ambiguous blob.
Instant, Pinpoint Feedback: On impact, the friction-cut hole reveals the blazing heat pad directly behind it. On your HIKMICRO or NocPix screen, a tiny, perfectly round, glowing white dot instantly populates your exact point of impact.
Flawless Group Tracking: Unlike standard thermal targets where multiple shots blend into one warm patch, my technique isolates every single bullet hole. You can clearly see a 3-shot group form hole-by-hole at 300 yards.
How to Build It in 5 Minutes
Prepare the Backing: Take a piece of stiff cardboard or corriboard and paste a standard, high-contrast daytime paper grid target to the front face.
Apply the Heat: Activate a large, full-sized adhesive back/body warmer. Peel off the protective backing and stick it entirely flat against the rear side of the cardboard, directly behind your target's central bullseye. Ensure there are no air bubbles or loose edges.
Let It Cook: Give it 5 minutes to come up to maximum operating temperature. The front of the target will remain completely mask-insulated, while the adhesive pad creates a pressurized "wall" of heat on the back.
The Field Workflow for Trueing Your Scope
Set your DIY target out at 200 or 300 yards. Get behind your rifle in a rock-solid, benched or prone position. Use your scope's LRF to ping the distance, allowing the internal ballistic engine to drop your digital Suggested Point of Aim (SPOA) crosshair on screen.
Aim dead center at the paper bullseye using that holdover and squeeze off your shot. The moment the bullet impacts, a brilliant pinprick of light will open up. If your bullets land two inches low, you can immediately adjust your scope's parameters:
On a HIKMICRO Stellar 3.0: Jump onto the app and drop your muzzle velocity value by 20-30 fps to raise the reticle.
On a NocPix ACE: Jump into the internal menu and apply a direct electronic elevation offset to that distance marker.
Once your digital crosshair aligns perfectly with that glowing impact window, your scope is flawlessly trued. You can walk up to the target, verify the group with a physical rule on the front paper face, and rest easy knowing your long-range winter foxing rig is dead-on thanks to this simple hack.
Need Help Dialling In Your Ballistic Profile?
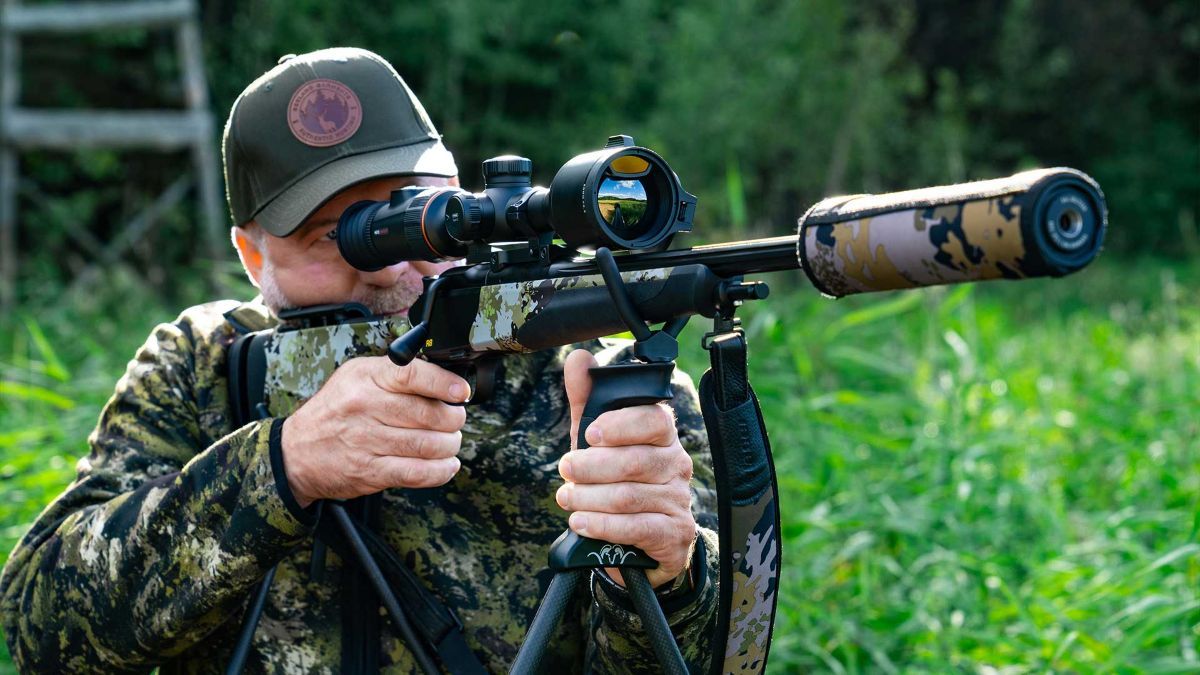
Whether you are configuring the advanced SPOA modes on a NocPix ACE or syncing your smartphone to a HIKMICRO Stellar 3.0 profile, our technical team handles these setups daily. Call our technical showroom on 01803 611895 or drop an email to [email protected] for straight-talking, expert advice.